Macrame Tools to Get Started
How to use different tools for your Macrame projects?

When it comes to macramé, it isn’t just about your hands and rope. There is a method, finesse, and, most importantly, helpful tools that you can use to make different lovely macrame projects. You can assemble a number of the most useful tools to make lovely macrame projects. Depending on the sort of tasks you prefer to do, some of them are must-haves and some are nice-to-haves.
To be able to utilize basic macrame tools efficiently and for their intended purpose, it is necessary to understand them. Once you’ve learned how to use the right tools, you’ll be able to differentiate between them and use them to improve your results.
1. Scissors

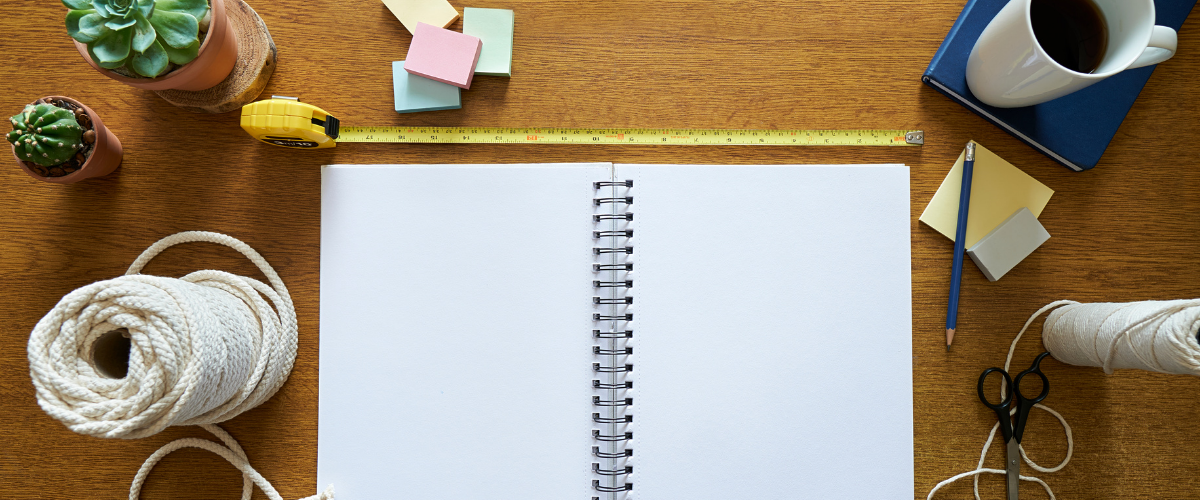
To cut your macramé cord, require stainless steel scissors. You can use a pair of sturdy craft scissors for this. These can be cut through a variety of materials, including fabric. A sharp pair of scissors can save you a lot of time and work when cutting several strands of cord for your project. Sharp scissors have a serrated edge that makes it easier to cut through thicker materials like Macrame cord, saving you time and effort.
For a good cut, greater grip, and much less slippage, scissors should have a little serrated edge. On thicker fabrics and cords, thicker blades provide more cutting power. Larger handles allow for a full four-finger grasp for improved control and leverage, and they’re completely adjustable with a strong locking nut to keep everything in place.
2. Measuring Tape

For measuring and cutting cord strands for your macrame projects, you’ll need a measuring tape. Whether you’re following a tutorial or making your pattern, measuring the right length of cord for complicated designs is crucial to success.
Cord measurement and cutting can be a time-consuming and frequently tedious process, but it is an essential element of any project. It’s critical that you read your project’s instructions slowly and attentively, and a calm, distraction-free setting can help you do so. This might save you from needing more cables later if you run out.
3. Fringe Comb

The sturdy stainless steel tool quickly combs through the fringe for a beautiful, fluffy texture. Combing through the fringe with a plastic comb isn’t the most efficient method. If you’re using a tangle-prone cord, having a sturdy comb can help you comb through the knots quickly. It fringes much better than the plastic option.
For combining cotton cords to give your macrame creation a lovely smooth fringe, you’ll need durable, high-quality metal combs. Straightening macrame fringe with a pet brush is also a reasonable suggestion. With the pet brush, you may brush more cables at once. A pet brush, on the other hand, will cause your fringe to shed more lint.
4. Fiber Content

Macrame projects work well with soft yet sturdy yarns or cords. The softness is pleasant to the touch and lends an inviting atmosphere to the design. The strength helps to keep your work from breaking apart by holding weight and strain. If you are looking for rope, thread, cord, or yarn, you’ll need to select whether you want to use synthetic or natural fiber.
Cotton, wool, hemp, linen, and jute are natural fibers that are great for interior crafts, home decoration, jewellery, and textiles. They’re also biodegradable, making them an environmentally beneficial choice for creating. Whatever sort of cord you choose, make sure it’s strong enough to handle extremely heavy plant pots and weights. Cotton cords, on the other hand, are not weatherproof, so if you want to create a plant hanger to keep outside, garden jute would be a much better choice!
5. Crochet Hook

A crochet hook is a utensil with a thin handle and a hook at one end that is used to produce crochet stitches by pulling thread or cord through loops. Hairpin lace, picking up dropped knitting stitches, and threading beads onto string can all be done using a crochet hook. Using a crochet hook to tuck loose cord ends into the back of a macramé pattern is considerably easier.
You can also use this tool to join two different pieces of macramé together. The ideal size crochet hook to start with is a 5mm aluminum hook. This size is easier to grasp in your hand than a very little or extremely large hook, making crocheting movements easier.
6. Macrame Cord Dispenser
When cutting a cord for your projects, a cord dispenser can be extremely helpful. Simply thread the end of the spool of cable through the dispenser’s loop. You can now easily measure it by pulling on the rope. The spool of the cord moves around and becomes tangled when you measure the cord without the dispenser.
7. Clear Tape

Tape comes in handy for adding accessories like beads to your design. Frayed cord ends make it harder to thread through beads. Wrapping the rope ends with a little tape overcomes this difficulty and makes threading the beads a pleasure.
8. Glue Stick

We construct knots in macramé that can easily unravel or relax. Simply put a small amount of glue on the cord ends to avoid this. One of the most powerful and long-lasting bonding procedures is the use of hot melt glue guns and sticks. They work at high temperatures, which necessitates a great deal of caution and focus in order to be safe.
They provide a fast, firm connection that is perfect for heavy things after you’ve learned the method. The major benefit of a glue gun over other types of glue is how rapidly it dries. The low temperature dries quickly, while the high temperature takes a bit longer. You can proceed swiftly through any craft project because of the short drying period.
9. T-Pins

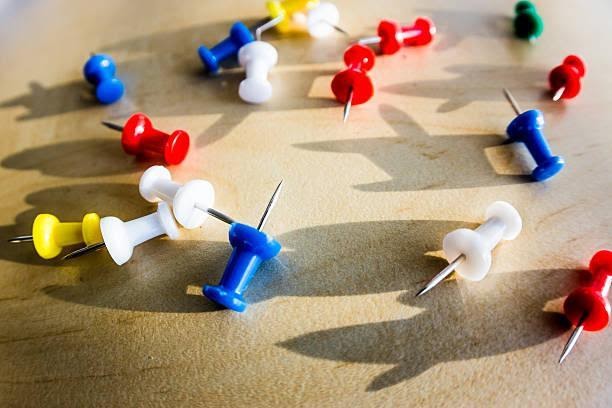
T-pin has a T-bar head and a sharp tip that readily penetrates even the most difficult surfaces without bending or breaking. The tips are kept sharp as it has a steel inner core. The macramé yarn or thread is held to the mounting board with T-Pins. When working on little, finer crafts, smaller pins are ideal. Pins bend with repeated usage. Steel ones are more durable and last longer.
T-pins are an excellent way to tie macrame projects to wood, cork, cloth, and other seemingly impenetrable surfaces. When working with macramé, T-pins are frequently used to bind macrame to the board. Papers on a fabric panel should be held in place with T-pins.
10. Needle & Thread

When it comes to keeping knots from unraveling or untying, needles and thread are better- options than glue. You may also use this to integrate beads and other embellishments into your design when threading the wire through them isn’t an option. Needles are used to complete the craft as well as for beading. Depending on personal choice, blunt-end or tapestry needles, as well as Chenille or pointed needles, are employed.
Varying diameters are used to accommodate various yarn kinds, such as silk or nylon, as well as different shaped beads. Having a range of pins and needles in your craft kit will be useful whether you sew, knit, crochet, weave, or make wreaths. There isn’t a single home decor handcraft that doesn’t require them.
11. Cork Pad & Pins

It helps to have a smaller work pad if you produce a lot of tiny crafts using thinner thread, such as jewelry or keychains. To make your life simpler, you may pin portions of the design to the corkboard. A local craft business gave me this cork pad. In past jewelry endeavors, I’ve used a pillow as a pin cushion as well. While a cork pad isn’t required, it does allow you to work on a level surface, which makes working on more delicate tasks simpler.
12. Marking Tool

Always test your selected marking tool on a piece of cord to determine how well it works and how simple it is to remove. On some cords or colors, air erasable or disappearing pens don’t always entirely disappear. A drawback is that the marking can fade quickly with even the smallest touch. Because they are tiny, marking chalks are delicate and may crumble as you mark, causing a mess.
Interested in working together?
